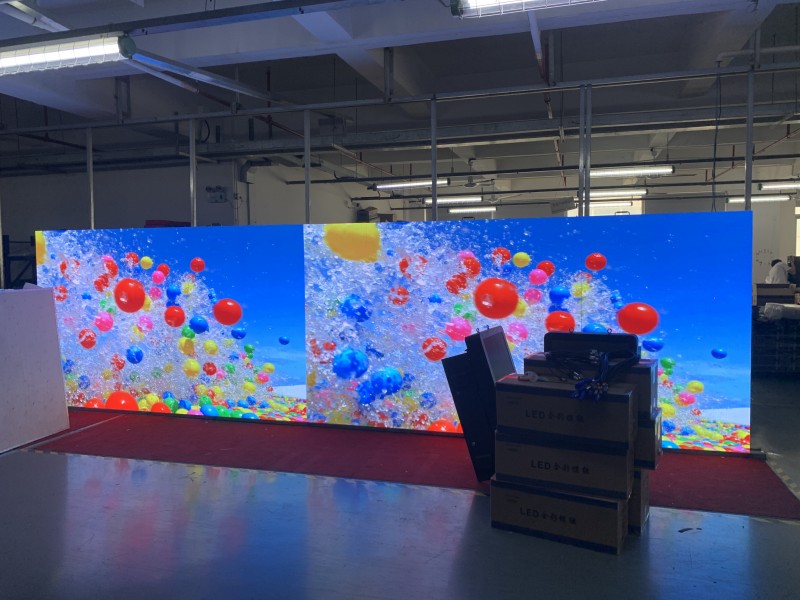
The LED display screen is composed of many small LED lights that emit light at different points in time to form an image. However, since the brightness of LED lights is very high, the exposure time of the camera is very short, which makes it difficult for the camera to capture every detail of the LED lights, resulting in unclear pictures.
In addition, the refresh rate of LED displays is very high, usually 50Hz or above, which means that the brightness of the LED light will change in a very short period of time. The camera‘s shutter speed may not be able to keep up with this change, resulting in flickering or banding in the shot.
To solve these problems, you can try using a longer exposure time and lower ISO value to shoot the LED display. In addition, using shutter priority mode or manual mode gives you better control over your camera‘s exposure time and shutter speed, resulting in clearer pictures.
Photographing LED strobes
The LED display images displays through high-frequency scanning. The conventional one is 1920Hz, and the high frequency one is 3840Hz. When shooting with SLR, camera and other equipment, stroboscopic problems often occur.
The refresh rate of LED displays is generally 3840Hz, which means that the display refreshes 3840 times in 1 second. The current frame rate of movies is generally 24Hz, which means there are only 24 frames per second. When playing a movie with a frame rate of 24Hz on an LED display with a refresh rate of 3840Hz, 3840/24=160 times, that is, each frame of the movie is refreshed 160 times by the display. If the computer is playing a file, the frame changing frequency is generally 60Hz, that is, 3840/60=64 times, so each frame of the computer is refreshed 64 times by the monitor.
The HDCOLOR film and television team adjusts the camera parameters and shoots, so that the display effect can be as realistic as the real thing. The clarity and detail seem to be right in front of you, and the hissing sound is close to your ears. You can also "smell" the colors, aromas and fragrances that fill the screen through the screen. Delicious food.
Sensitivity ISO settings
ISO is the camera‘s sensitivity to light. Parameters include ISO100, 200, 400, 800, etc. ISO affects exposure. As the parameter increases, more light enters, and the image brightness increases as the sensitivity increases. ISO parameters affect image noise (graininess and spot color). Image noise increases as ISO value increases. A high ISO parameter will make the photo grainy, and high noise will affect the quality of the photo; a low ISO parameter will result in a delicate and clear image and when shooting in dim light, you often need to choose a higher ISO sensitivity.
.jpg)
Shutter parameter setting The camera‘s shutter controls the exposure time of each shot. If the shutter is open longer, more light will reach the image sensor. While photos taken with a slower shutter speed will be brighter, they are also more susceptible to image blur and ghosting caused by movement of the subject or camera. Using a faster shutter speed is suitable for shooting dynamic objects, but the color of the photo will be reduced. become sluggish. If the shutter speed is set too high, motion in the video (including intra- and intra-frame motion) will become choppy.
❖ In automatic mode, the shutter is set automatically by the camera.
❖ In aperture priority mode, shutter speed is determined by light, aperture size, and ISO size;
❖ In shutter priority mode, the shutter is set by the photographer himself.
.jpg)
Dynamic shooting effect of shutter speed from fast to slow
.jpg)
Static shooting effect from slow to fast shutter speed
Shutter value and exposure value of ordinary cameras and mobile phones
Each brand‘s shutter value and exposure value indications are different, especially for mobile phones. The corresponding settings should be based on the actual situation on site.
Solution to the flickering problem of shooting: In shutter priority mode, lower the shutter of the camera, 30 is the best value (subject to the actual effect on site, the specifics can be based on the actual refresh rate of the LED display and the frame change of the video source frequency to calculate the appropriate number of refreshes), and at the same time adjust the sensitivity ISO to optimize the overall brightness of the shot (lower the sensitivity ISO value). For mobile phone photography, professional mode is preferred and shutter adjustment is a priority.
(1).jpg)
Suggestion:
For live broadcasts with an LED display as the background, the brightness is constantly changing, and the overall brightness will inevitably be affected. At this time, you need to use manual exposure to fill in the light for the subject (such as chasing light, lighting people, etc.); if the live broadcast scene area is too large or the regional ambient light deviation is too large, it is best to use a multi-camera acquisition method (fixed camera and mobile camera). When setting up your camera , avoid using automatic modes (shutter, aperture, focus, exposure, etc.). Use manual mode and connect a monitor to confirm the effect to avoid loss of focus, reduced depth of field, and too small a distance between the subject and the LED display.
To solve the flicker problem in LED display shooting, it is necessary to master the actual refresh rate of the display and various factors of the on-site environment, and accurately set the shutter, aperture, sensitivity and other parameters, so that the camera can truly capture and restore the high-definition and delicate images of the LED display. Picture quality. , and explore its efficient and diverse applications as an immersive background wall, and use a good screen to create an immersive and diverse background wall application experience.


