


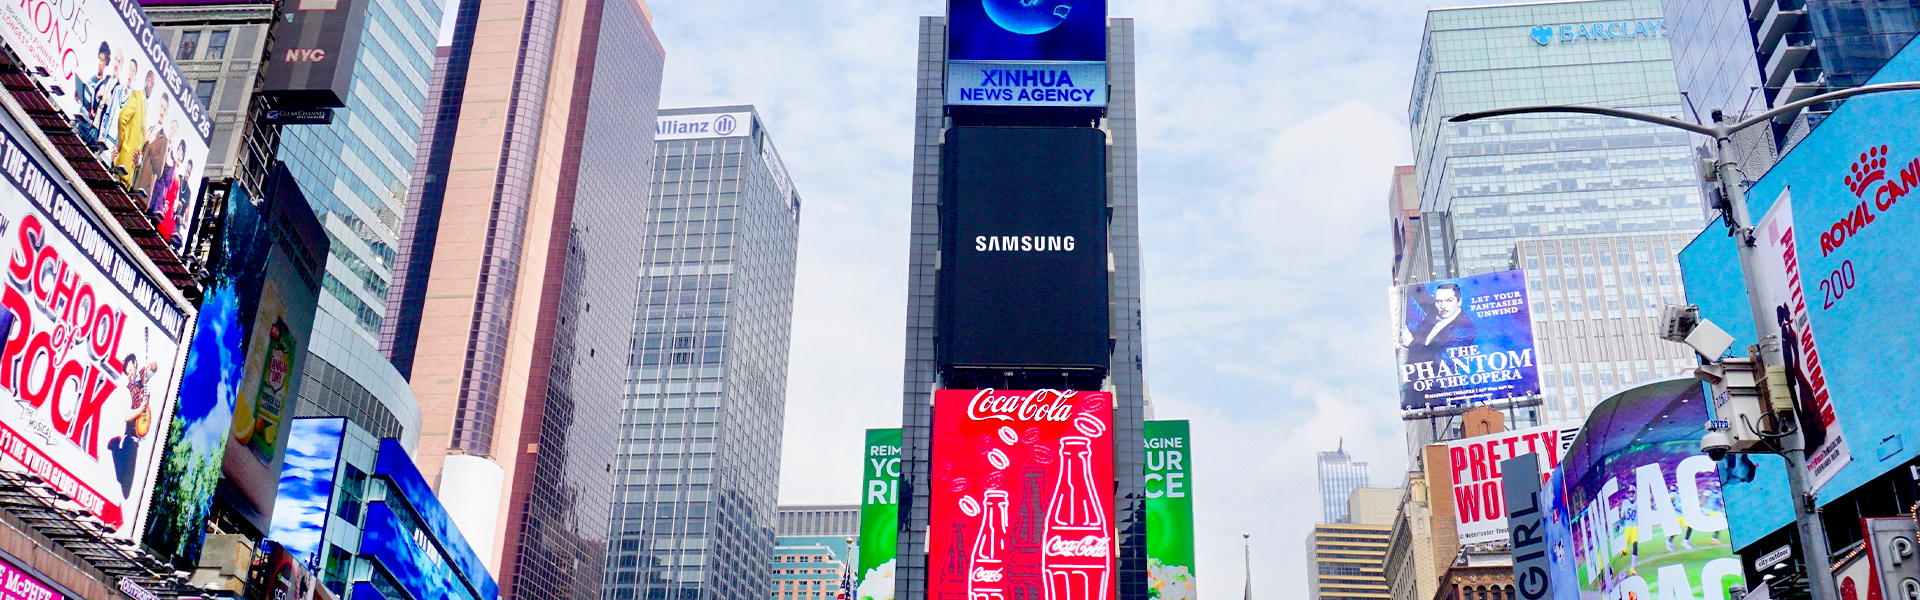


Choosing an outdoor LED display is not a matter of picking the biggest screen or the lowest quote. It is a matter of matching eight technical parameters to your site, your viewing distance and your budget. Get them right and the screen runs for a decade with predictable running costs. Get them wrong and you pay twice — once for the screen, and again every month on the electricity bill.
This guide follows the same decision order our engineers use when quoting an outdoor project, and it points out the mistakes that cost buyers the most money.
The decision order that actually works
Most buyers start with price, then try to fit the specifications around it. That is backwards. Work in this order instead:
1. Viewing distance → decides pixel pitch
2. Ambient light level → decides brightness
3. Climate and mounting method → decides IP rating and cabinet structure
4. Screen area and power distribution → decides power supply and cabling
5. Content type → decides refresh rate and control system
6. Maintenance access → decides front-service or rear-service design
7. Budget → decides what you can safely compromise on, and what you cannot
1. Pixel pitch and viewing distance
Pixel pitch (P) is the distance in millimetres between the centres of two adjacent LED lamps. The smaller the number, the denser the pixels, the sharper the image — and the more expensive the screen, because you are paying for roughly four times as many LEDs every time the pitch halves.
The industry rule of thumb for outdoor screens:
Minimum acceptable viewing distance (m) = pixel pitch (mm) × 1
Comfortable viewing distance (m) = pixel pitch (mm) × 3
So a P10 screen is acceptable from about 10 m and looks comfortable from roughly 30 m. A P8 screen is acceptable from 8 m and comfortable from about 24 m. A P6.67 screen suits closer street-level viewing.
Outdoor projects most commonly settle on these pitches:
• P8, P10 — highway billboards, building-top signage and large facades viewed from 25 m or more. Best cost per square metre.
• P5, P6.67 — commercial plazas, retail facades and stadium perimeters viewed from 10–25 m.
• P2.5–P4 — street-level brand signage, storefronts and transport hubs where people pass within a few metres.
The most common and most expensive mistake in this step is ordering a pitch far finer than the viewing distance requires. A P4 screen on a billboard viewed from 40 m delivers no visible improvement over P8 — but it can cost two to three times as much, and it consumes significantly more power for the same brightness.
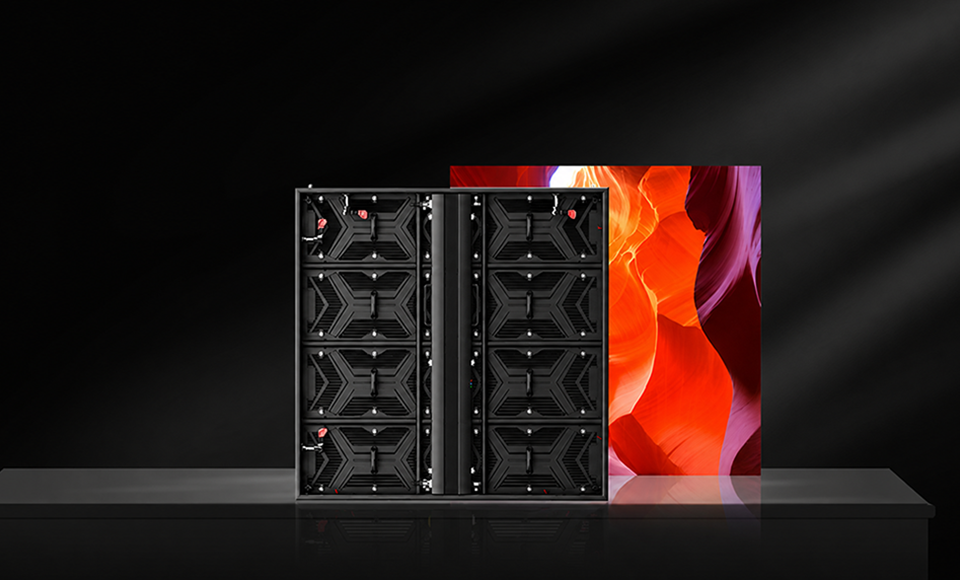
2. Brightness — measured in nits, but judged by contrast
Outdoor screens must compete with direct sunlight. A practical brightness range is 5,000 to 8,500 nits:
• 5,000–6,000 nits is enough for shaded or north-facing installations.
• 6,500–8,000 nits suits typical street-facing billboards.
• 8,000 nits and above is needed where the screen faces the sun directly, or where ambient light is extreme.
Two details matter more than the peak number on the datasheet. First, auto brightness adjustment: a screen that stays at 8,000 nits after dark is uncomfortable to look at, invites complaints from nearby residents, and wastes power all night. A light sensor with a smooth dimming curve solves this. Second, black level and mask design: perceived contrast comes from how dark the black areas are, not only from how bright the white areas are. A screen with a poorly designed mask looks washed out at noon even at 7,000 nits.
Also confirm that the quoted brightness is calibrated brightness after colour correction, not a laboratory peak figure measured on a single white module.
3. IP rating and environmental protection
An IP rating has two digits. The first digit covers solids (6 = dust tight). The second covers water (5 = water jets, 6 = powerful jets or temporary immersion). For outdoor LED displays, look for IP65 or better on the rear and IP65–IP66 on the front face, where rain, dust and cleaning water actually land.
Beyond the rating, ask these questions:
• Are the modules potted or glued? Front-facing glue sealing is what keeps water out of the lamp joints long term.
• Is the module mask UV-stabilised? Non-stabilised masks yellow and become brittle after a few summers.
• What is the salt-spray rating? Coastal installations must specify this, or the cabinet and screws corrode within two years.
• What is the operating temperature range? Demand at least −20°C to +60°C with derated brightness at the top end.
• What is the wind load rating, and is the steel structure designed for your local wind speed?
• Is lightning protection and grounding designed in, with grounding resistance at or below 4 Ω?
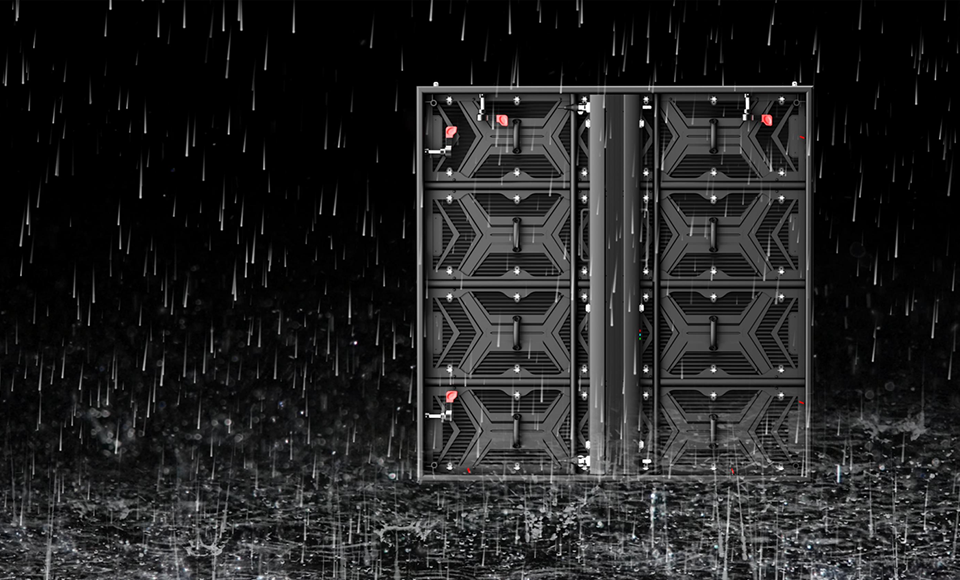
4. Cabinet weight — a hidden line in your budget
Cabinet weight drives three costs that never appear in the screen quotation: the steel structure, the crane and installation labour, and the building‘s load-bearing reinforcement.
A lightweight outdoor cabinet in the region of 22–25 kg per cabinet can cut steel structure cost noticeably compared with older 40 kg designs, and it allows installation on facades that would otherwise need structural strengthening. If your site is a rented facade, a rooftop or an older building, weigh this criterion heavily.
Check the material and finish too: die-cast aluminium or treated steel with a proper anti-corrosion coating, and a cabinet depth that leaves enough room for the power supply and receiving card without forcing airflow restrictions.

5. Power consumption — the cost you pay forever
The purchase price is paid once. Electricity is paid for the life of the screen. For a large outdoor display, the electricity bill over ten years can approach the original purchase price, so a 30% efficiency improvement is not a marketing detail — it is real money.
Look for a common-cathode or dual-voltage partial power supply design rather than a single fixed 5 V rail. These designs reduce heat generation as well as consumption, which in turn extends LED life because heat is the main driver of brightness decay.
Here is a worked example. A 100 m² outdoor screen with an average power consumption of 300 W/m², running 16 hours a day:
• Daily consumption: 100 m² × 300 W/m² × 16 h = 480 kWh
• At USD 0.15 per kWh: about USD 72 per day, or USD 26,300 per year
• A 30% reduction saves roughly USD 7,900 every year
Note that average power is typically 30–40% of the quoted maximum power, because a real advertising loop is never fully white. Always compare quotations on average power, not maximum power.

6. Refresh rate and driver IC
If anyone will ever film, photograph or broadcast the screen, refresh rate matters. A low refresh rate produces dark horizontal bands and flicker on camera, which makes the screen unusable for live events, sports coverage and social media content.
• Minimum acceptable today: 1,920 Hz
• Recommended for on-camera use: 3,840 Hz or higher, with 14–16 bit grey scale processing
Refresh rate is a function of the driver IC and the control system, not the LED lamps, so it must be specified at the quotation stage. It cannot be retrofitted economically later.
7. Control system and signal redundancy
Ask how the signal reaches the screen, how far it can travel, and what happens when it fails:
• Sending card to receiving card distance — typically up to 80 m over Cat6, or several kilometres over fibre.
• Signal redundancy — a backup sending card and a hot-spare source that switches automatically.
• Fail-safe behaviour — on signal loss, the screen should hold a stored image rather than showing a black wall or a blue error frame.
• Remote monitoring — temperature, voltage, cabinet status and fault alarms available over the network, so a technician is not dispatched for a problem that can be diagnosed remotely.
8. Front-service or rear-service design
This is decided by your mounting condition, not by preference. If the screen sits flat against a wall with no walkway behind it, you need front-service magnetic modules — the technician removes modules from the front of the screen while it stays mounted. If you have rear access, a rear-service design is simpler and cheaper, but it requires a maintenance walkway of roughly 60–80 cm, which you must plan for at the structure stage.
What actually drives the price
When two quotations for the same screen size differ by 40%, the difference is almost always in these five places:
• Pixel pitch — density of LEDs and driver ICs is the single biggest cost factor.
• Brightness and LED brand — higher bin, higher brightness, higher price.
• Cabinet material and power design — die-cast aluminium and efficient power supplies cost more up front and less over time.
• Control system redundancy — backup cards, fibre transmission and monitoring.
• Structure, installation and shipping — often underestimated, and heavily influenced by cabinet weight.
A quotation that is dramatically cheaper is usually cheaper in one of these five areas. Ask which one, and decide whether you can live with it.
Buyer‘s checklist before you sign
☐ Pixel pitch matched to the real viewing distance, not to a catalogue ranking
☐ Brightness quoted as calibrated nits, with auto dimming included
☐ IP65/IP66 rating confirmed for both front and rear
☐ Salt-spray rating specified if the site is coastal
☐ Wind load and grounding design reviewed for the actual location
☐ Cabinet weight and its effect on steel structure cost calculated
☐ Average power consumption in W/m² given in writing
☐ Refresh rate of at least 1,920 Hz, or 3,840 Hz if on-camera
☐ Signal redundancy and fail-safe image behaviour confirmed
☐ Front or rear service access matched to the mounting condition
☐ Spare module ratio (5–10%) and warranty terms in the contract
☐ Installation, commissioning and training included in the scope
Choosing the right screen for your project
There is no universally best outdoor LED display — only the display that fits your viewing distance, your climate, your mounting condition and your electricity budget. Decide in the order above and the specification writes itself.
If you tell us your viewing distance, screen size, mounting method and location climate, our engineers will recommend the right pixel pitch, brightness and cabinet type for your project, and send you a full specification with average power consumption figures. You can also review our SLIM OUTDOOR SERIES for a lightweight, weather-resistant outdoor platform, browse the complete fixed installation and rental ranges, or contact us directly for a project consultation.
 HD COLOR
 86-15889379986
 HD color
